Adding a New Directory Record
New directory records can be added as they are needed. Note that a department is required when adding a new directory record. The person or function must be assigned to at least one department (parent record) in Smart Center to be able to add a new directory record in Smart Web for the person or function.
1. Access Smart Web.
2. Click on the Personal Profile tab and log in if required.
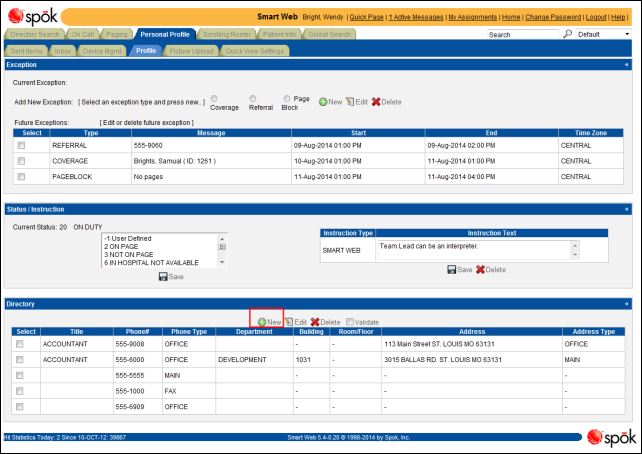
3. Choose the Profile tab. The current directory records display in the Directory section.

4. Click the New icon. The New/Edit Directory Information section displays in the screen beneath the Directory section. Use the scroll bar to view the new section.
The Module Access Settings section also displays, showing the default module access settings. These settings can be left at the defaults. If they need to be changed, however, please refer to Updating the Module Access Options (Profile Tab) for more information about the module access settings.

5. From the Department list box, choose a department. An entry in this field is required. The list of departments is derived from the departments (parent records) assigned to this person or function in Smart Center.
6. From the Personal Profile list box, choose a title. An entry in this field is required.
7. Enter a phone number in the Phone Number field, and select a phone number type from the Phone Number Type list box. Entries in both of these fields are required.
8. The address can be entered using the address fields. The address can be either entered manually by entering the address information in the address fields, or automatically by selecting a combination of a building code and an address type. An address can be entered manually only if a building code has not been selected. Entering an address is not required.
Automatically Entering an Address
An address can be automatically specified by selecting a combination of a building code and an address type.
a. In the Building field, select a building code from the list box. If only one address type is associated with the selected building code, the address fields are automatically populated.
b. In the Address Type field, select an address type from the list box. The address fields are automatically populated.
c. If a room or a floor number is associated with the address, enter that information in the Room/Floor field.
Manually Entering an Address
An address can be entered manually only if a building code has not been selected.
a. Enter the building’s street address in the Street 1 and Street 2 fields. An entry in the Street 1 field is required.
b. If a room or a floor number is associated with the address, enter that information in the Room/Floor field.
c. Select an address type from the Address Type field. This step is optional.
d. Enter the city, state or province, postal code, and country in the City, State, Postal Code, and Country fields. Entries in the City, State, and Postal Code fields are required.

9. To cancel the changes and revert to the last set of saved directory record entries, click the Cancel icon at the bottom of the screen. The Cancel icon must be clicked before any changes are made.
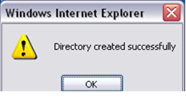
10. Click the Save icon at the bottom of the screen to save the new directory record. A message displays when the record has been created.

11. Click the OK button to close the directory and close the New/Edit Directory Information and Module Access Settings sections. The new directory record displays in the Directory section.
